How to scan old photos and archive them quickly

We show you how you can use Google Photos and a smart workflow to scan your old photos quickly and archive them online
Nowadays with the ubiquity of digital cameras – whether DSLR, compact or the smartphone in your pockets – fewer people are printing their photos. We’ve all moved towards sharing our photographs instantly on social media instead, which is a bit of a shame.
Still, most of us still have troves of old family photographs in albums stored away for safe keeping. Scanning these is not only a great way to then be able to share them digitally but also as a way to archive your precious memories. Printed photographs are prone to becoming damaged or lost, whereas digital copies should remain safe for years to come (provided you have taken measures to back them up).
However, the process of archiving your photographs can be time-consuming and arduous. Fortunately, there are ways to speed up the workflow if you want to work through a large quantity reasonably rapidly. You’ll still get good results but for the more important photographs it’s worth taking your time.
One way I’ve found to get through lots of scans quickly is to use Google Photos to store and edit your photographs. Not only is this free but also doesn’t require you to install any additional software. It also ensures your photographs are stored in the cloud, safeguarding them from hard disk failure and also allowing you to then easily share them with other people.

Google Photos also has useful and clever added functionality such as face and place recognition, which might help with searching for photographs containing certain people. If your photographs span several decades, this might not work particularly well but it can still be useful. It’s also available across multiple devices.
I’ve also used Windows 10’s built-in scanning tool. While it might not have the most settings and options, it’s readily available and quick to use. Scanning is always going to be laborious but I’ve outlined a reasonably fast workflow below to help get you through scanning your old photographs.
Step 1 – Lay out as many photographs as you can on your scanner

For this example, I’m using a flatbed scanner. The fastest way to get through a large workload of photographs is to scan as many as you can in one go. This means arranging as many photographs on your flatbed scanner as you can fit. When you’re scanning hundreds or thousands of photographs, this will save you a considerable amount of time in the long run.
Step 2 – Open up Windows’ Scan tool
You can use whatever scanning software you have available. Your multifunction printer might have installed its own scanning software so feel free to use that if you find it easy to use. Otherwise, you can just use Windows 10’s scanning tool. Just hit the Windows key and type ‘Scan’ to find it.

Whichever tool you’re using, you likely want to use a resolution of at least 300DPI and preferably in a lossless file format such as BMP or TIFF. These will result in large file sizes, but if you’re going through all of this effort you want the best quality you can get. You never know how you might want to use the photographs in the future and a high DPI will allow you to make new prints at acceptable quality.
Hit Scan in your software and you’ll have a composite of all of the photographs you put on your flatbed scanner. We’ll worry about cropping in the next few steps.
Step 3 – Take your scan into Google Photos
Now in your browser navigate to Google Photos (http://photos.google.com) and sign in with your Google account (or sign up for one if you need to). You’ll want to start organising your photographs as you go along and the easiest way to do this is to create albums. You can even create albums that digitally match your physical photo albums.

Now, drag the scan you just created into Google Photos to upload. It will ask you what upload size you want to use. If you have a very limited amount of storage space you can select High Quality but note this limits your uploads to the equivalent of 16 megapixels, which is fine for most purposes. If you want to archive the best quality versions you’ll want to stick with the Original quality, however.
Step 4 – Add scans to albums
After uploading, you’ll be asked if you want to add the scan to an album. Select ‘Add to Album’ and pick ‘New Album’ if you haven’t already created one. If you are adding the scan to an existing album you’ll see it listed.
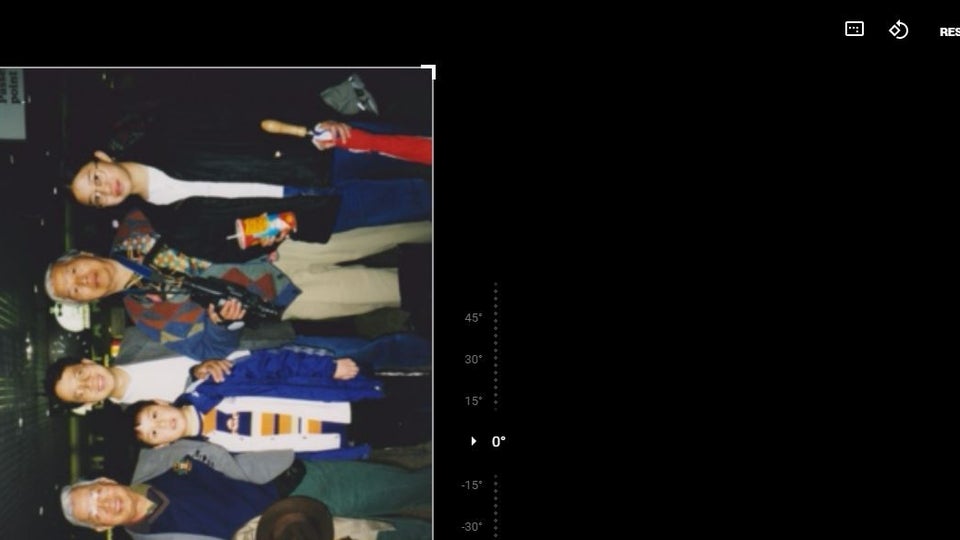
If you create a new album, be sure to give it a logical name such as ‘Summer Holiday 1996’ if you’re grouping scanned photographs together. The below example is intentionally bad as it doesn’t give you a useful indication of what photographs are inside.

Now you want to navigate to the scan you just uploaded into an album. Select it to get a larger view. Now on the top right of the screen, you’ll see a Pencil icon for editing. Click this to bring up the editing screen.
Step 5 – Quickly crop and re-touch your scan
The next screen will let you adjust some basic image settings. The options available are nowhere near as extensive as you’ll get in fully-fledged software but if you’re aiming for speed they do a reasonable job. Even the Auto option can help instantly get your scans looking better.
Now you will want to crop your multiple photo scan into individual photos. The crop option is at the top right of the screen. If you need to rotate your photographs, there’s a Rotate button next to Auto. Do this now before you start cropping to save yourself time later on.
Select this and draw a box around the individual image you want to crop to by dragging the corners. Now hit Done to crop. To save the image, you want to click the three dot menu and select ‘Save Copy’. This creates a new image in your Google Photos album cropped to just that individual image. Go back to the original multiple photograph scan and repeat the steps above to crop the other individual photographs.

If you hit ‘Done’ after cropping instead of saving a copy, don’t fret as Google Photos makes non-destructive changes to your photographs. Navigate to the newly cropped version of your photograph and hit the Undo Edits button. Alternatively, you can use the Crop button again and you’ll see that you can actually expand the crop size back to containing all of the scanned photographs you initially uploaded. Now repeat the above steps to create a new copy of the image after cropping.
If you want, you can then delete the original scan (the one that contains multiple photographs) if you need to conserve storage space. Otherwise, it might be worth keeping as a pseudo digital negative.
Step 6 – Repeat the above steps

Depending on how many photographs you can fit on your flatbed scanner in one go, the above steps should hopefully not have taken too much time. Now’s the time to load up the scanner with more photographs and repeat the process. The more you do it, the quicker you get. Good luck. Buy a top scanner now from Amazon.


